

Sorry, I dont mean that Muscles from Brussels! (lol, I couldn't resist)
No, this post is about how to cook Belgian Mussels.
I realize that this post has nothing to do with baking, but it was a request from my little sister. :)
Here in Belgium they're almost always paired with Belgian fries. They're called 'Mosselen met Frieten" or more commonly 'Moules Frites.'
I realize that this post has nothing to do with baking, but it was a request from my little sister. :)
Here in Belgium they're almost always paired with Belgian fries. They're called 'Mosselen met Frieten" or more commonly 'Moules Frites.'
Dipping Sauce:
INGREDIENTS
INGREDIENTS
- 1 cup mayonnaise
- 1/4 cup mustard (or to taste, add more if you prefer a stronger dip)
- a splash of white wine (about 2-3 tablespoons)
- 1 small bunch fresh parsley finely chopped
- 1-2 cloves of garlic finely chopped
- Salt & pepper to taste

DIRECTIONS
Mix all ingredients together. You'll use this sauce for your fries and to dip your mussels in. Done! Set aside and prepare the mussels!
For the Mussels:
INGREDIENTS
- 2kg Mussels (1kg pp)
- Small bunch of celery (don't bother removing leaves if yours come with the tips, it's actually nicer with the leaves)
- 1 large yellow onion sliced
- 3 cloves of garlic smashed (if you're a garlic lover like me you'll use more, if you dont like garlic, or plan on going out after dinner, or any romance is involved, use less. (Wink wink!)
- 2 bay leaves
- Optional: 1-2 red chili pepers or a table spoon of sambal/siracha sauce
- Optional: 1 cup of dry white wine
Now the tricky part! (Just kidding, the whole thing is SOOO easy! It's a great meal to serve when you invite friends over because it's so quick and so easy! Although a little pricey depending on how available fresh mussels are in your area)
DIRECTIONS

 First buy your mussels fresh. You want to make sure they're alive, you'll have to toss out any that are dead.
We love our mussels so we usually have 1kg of mussels per person. There are two of us, thus we bought the 2kg (4.5 lb) box. Some of you might think, wow that's a lot of mussels, but that's because here when you eat mussels, they are your main course, that's literally all it is, and then you get your side, which is fries. The usually come in different sizes; the more number of mussels per kilo, the smaller they are.
Here in Belgium the sizing goes:
Extra: >70 per kilo
Super: 60-70 per kilo
Imperial: 49-59 per kilo
Jumbo: 43-48 per kilo
Goldmark: 35-42 per kilo
We bought fairly small ones because they we on sale and silly me, I didn't pay attention (oops). But I would suggest you go for at least Imperial or Jumbo size because the smaller they get, the chewier they tend to be as well. It wasn't a problem for me, but C. prefers it less 'chewy' mussels, and you should trust him, he's knows what he's talking about, he's a real Belgian!
 Next, you'll want to rinse them. Rinsing them ensures that you get all the tiny pieces of sand and possible broken bits of shells (see below right photo). You definitely don't want to eat sand! It's also a good time to try to check if any of your mussels are dead.
Here's a few tips to tell if your mussels are dead:
- If the mussels are tightly shut before you cook them it means they're alive.
- If they are a little bit open it means they may or may not be alive. Then you have to try to shut them a little and if you see movement, it'll start to close a very slowly on it's own, then you know they little guy is alive!
- If the little guy doesn't do anything and it just stays slightly open it's dead.
- The little guys relax once they get thrown into the rinsing water and they tend to open a bit once submerged, and when you transfer them, you'll notice them getting 'scared' and closing again.

Throw out any mussels that are dead; you don't want to get sick!
Then prepare your veg!

We bought the 'ready prepared' vegetable mix because it was easier. And i had some left over extra celery that I chopped up and threw in as well.

Here's a photo just to show you about what size our mussels were. (My hand's are average size for a 5' 2" female, lol)

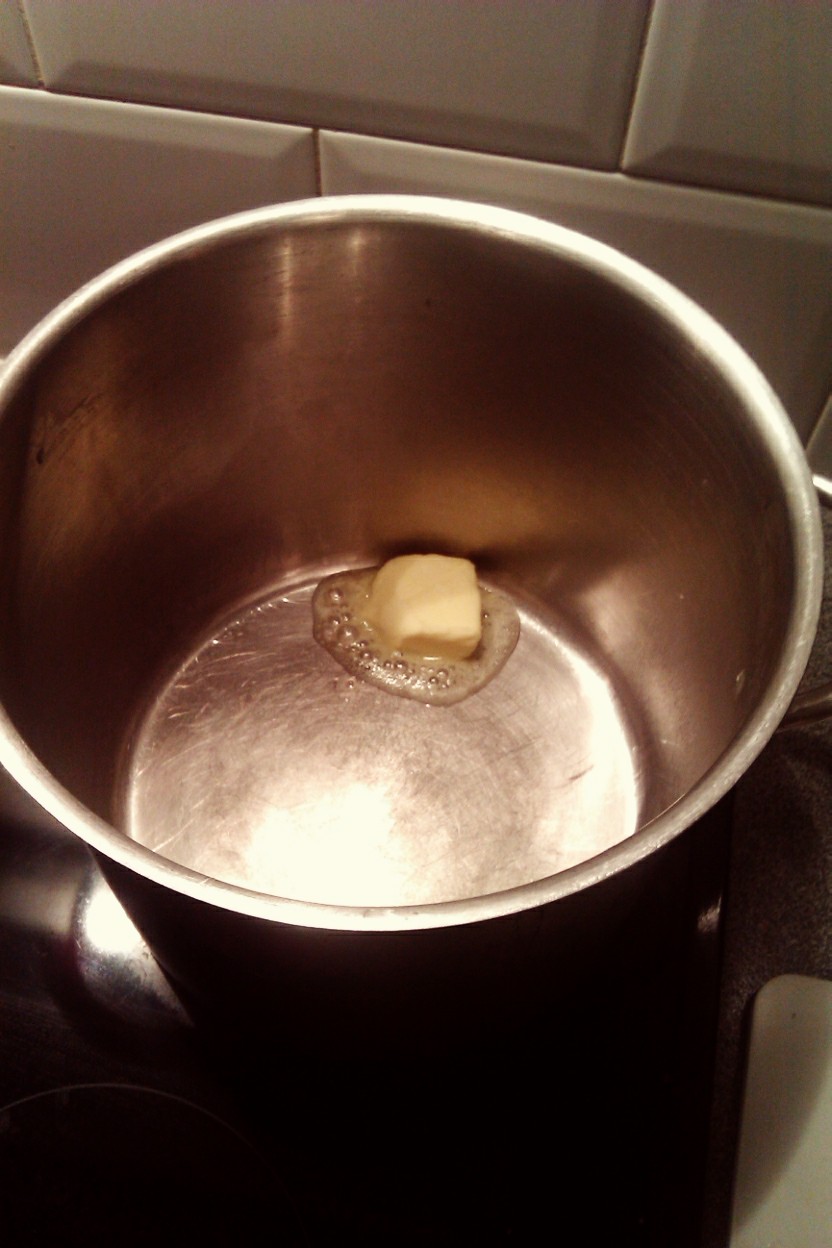
After preparing your vegetables, melt some butter in your big pot.
You might want to check to make sure your pot is big enough to hold all your mussels, and don't fill them all the way to the top or you'll have a difficult time scooping them out and getting some of that yummy veg with it. If you're pot is not big enough, you'll have to first cook half of your mussels and then the rest a second time. But don't fret, it's really so simple you can have your second batch on while you eat your first. The pot I use is just big enough to hold 2kg. You can see it's really quite large.

So, as I was saying, after you melt your butter, you'll want to sauté your vegetables and soften them until you see the onions become a little translucent. Then throw in your smashed up garlic.


And then if you like it spice, you would add in your chili or chili sauce here. (We like it spicy once in a while)

If you want to add white wine, you do so now as well.

Then add your mussels, and give it a couple stirs to mix with the vegetables. Pour in cold water, but don't cover your mussels to the top. You want to fill it up a little less than the top of the mussels. Cover and cook about 20-30 min. or when you see that they've all opened.


And that's it! Serve with your favorite fries (preferably Belgian fries)!! Bon Appétit!

Here's a photo of me finding a bad mussel in the batch. If you aren't sure if they were alive or not before cooking to check after you've cooked them, you want to make sure they're open like the mussels in the picture above on the right. If they're still closed after cooking like the picture of me holding one below, toss it.

Another good *TIP*: You can drink the broth after you eat your mussels or strain it (to get out all the vegetables) and save it for other recipes! I like to use it to make a nice seafood chowder! Enjoy!


